8 Vegetables That Regrow From Kitchen Scraps
Tossing vegetable scraps in the trash might seem automatic, but those odds and ends you’re throwing away could actually become your next harvest. Growing food from kitchen scraps isn’t just a fun experiment—it’s a surprisingly practical way to stretch your grocery budget, reduce waste, and keep fresh greens within arm’s reach.
Plus, there’s something genuinely satisfying about watching roots sprout from something that would’ve ended up in the compost bin. Let’s dig in.
Why Kitchen Scrap Gardening Actually Works
Most vegetables don’t grow from a single magical seed—they’re parts of plants that naturally want to keep growing. When you cut the base off romaine or trim the top from a carrot, you’re leaving behind tissue that’s biologically designed to regenerate. These cut ends contain growth nodes and stem cells that can produce new roots, leaves, or even entirely new plants when given the right conditions.
The key is understanding what each vegetable needs. Some scraps thrive in just water on your windowsill, while others need soil and patience. Temperature, light, and how you initially cut the scrap all play a role in success rates.
Here’s the cool part: you’re not trying to grow a full grocery-store-sized vegetable from every scrap. Even if you only get a few harvests of fresh leaves or a handful of green onion tops, that’s still free food you didn’t have before. Think of it as supplementing your cooking, not replacing your produce aisle.
1. Green Onions (Scallions)
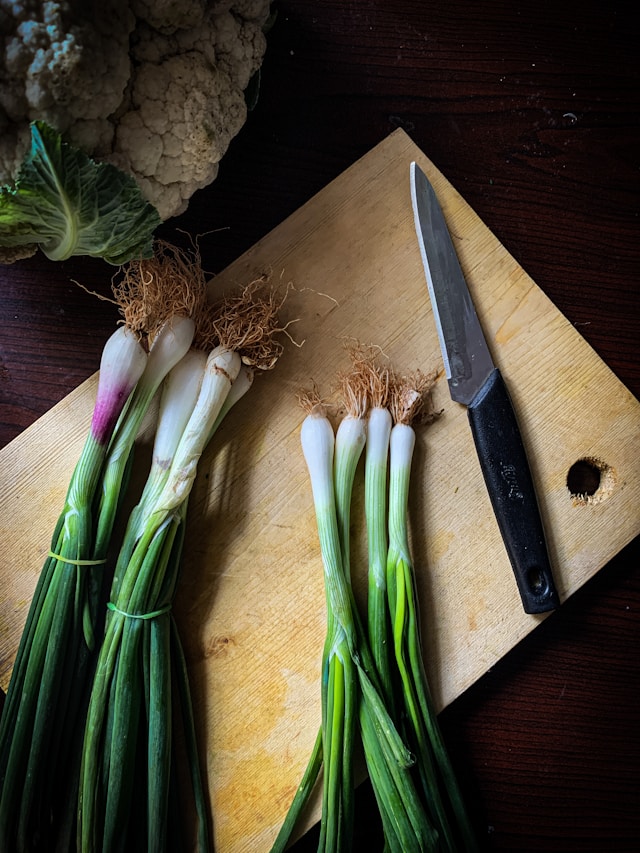
Cut green onions about an inch above the roots, use the tops in your recipe, and place the white bulb end in a shallow glass of water. Within days, you’ll see bright green shoots emerging. Change the water every few days to prevent sliminess, and you can harvest the greens multiple times—just snip what you need and let them keep growing.
Quick tip: After a few cycles in water, transplant them into soil for even longer-lasting growth.
2. Romaine Lettuce
Save the bottom two inches of a romaine heart after you’ve used the leaves. Place the base in half an inch of water in a sunny spot, and new leaves will sprout from the center within a week. The leaves won’t form a full head, but they’re perfect for sandwiches or salads.
Quick tip: Keep the water level consistent—too much and the base might rot; too little and growth stalls.
3. Celery
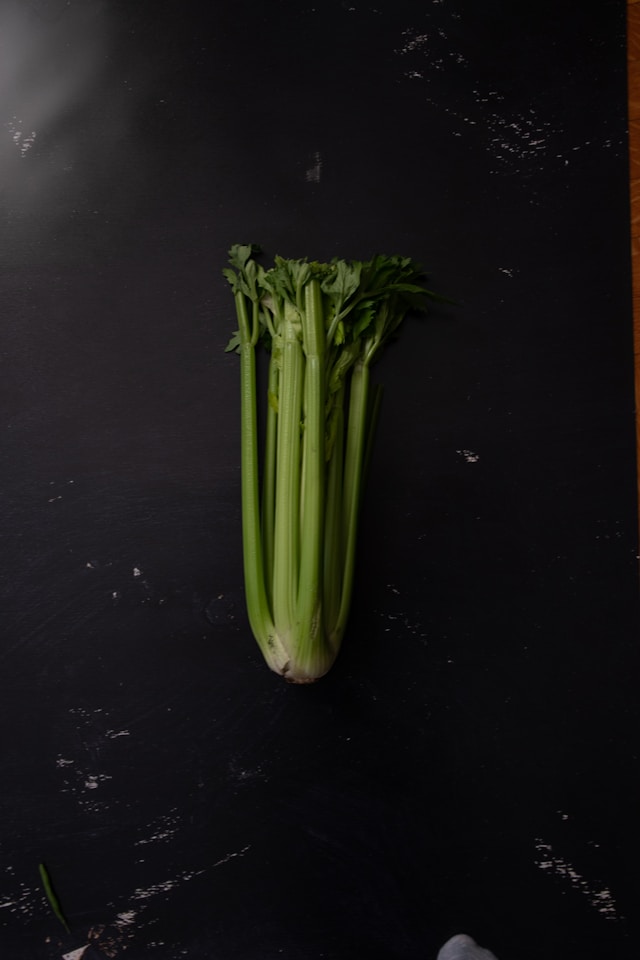
Just like romaine, celery regrows from its base. Cut off the bottom two inches, set it in a shallow bowl of water, and place it where it’ll get plenty of light. Yellow-green leaves will appear in the middle first, eventually forming stalks you can snip as needed.
Quick tip: For thicker, hardier stalks, transfer the base to soil once roots develop.
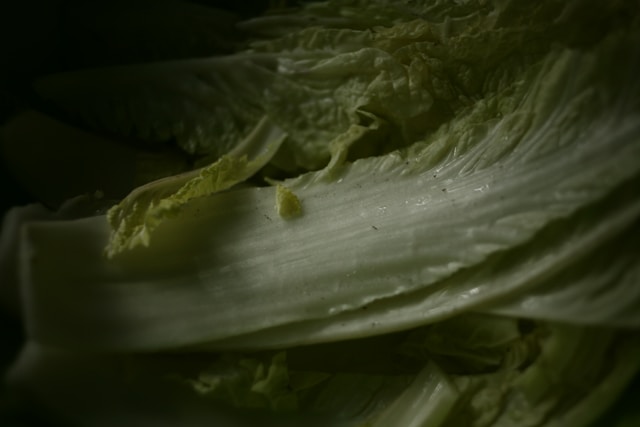
4. Bok Choy
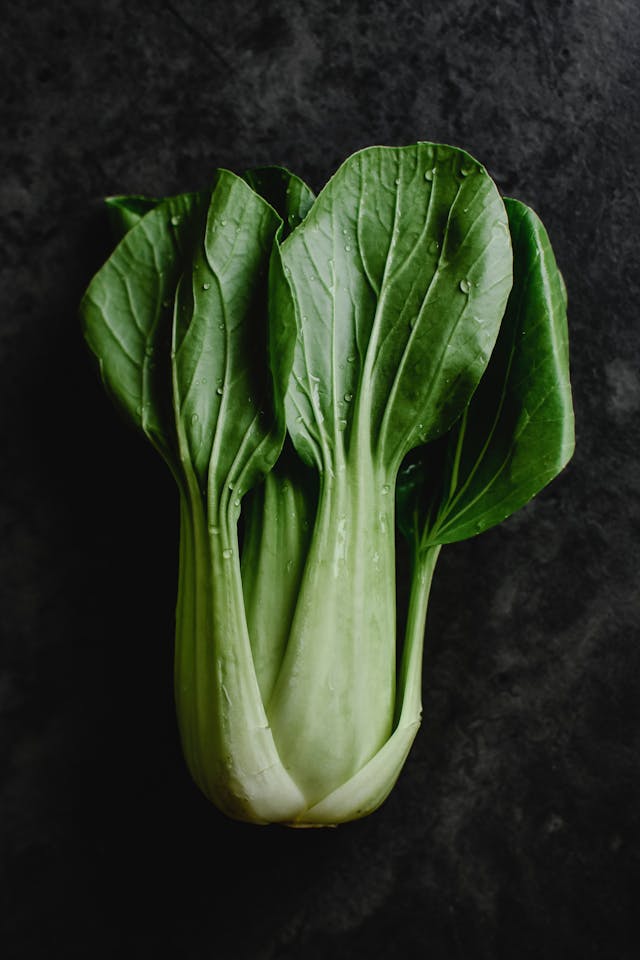
This leafy green is incredibly forgiving. Place the base (about an inch or two from the bottom) in water, and watch as new leaves unfurl from the center within days. You can harvest baby leaves continuously or let it grow larger before cutting.
Quick tip: Bok choy loves moisture, so if you plant it in soil, keep it consistently watered.
5. Garlic Sprouts
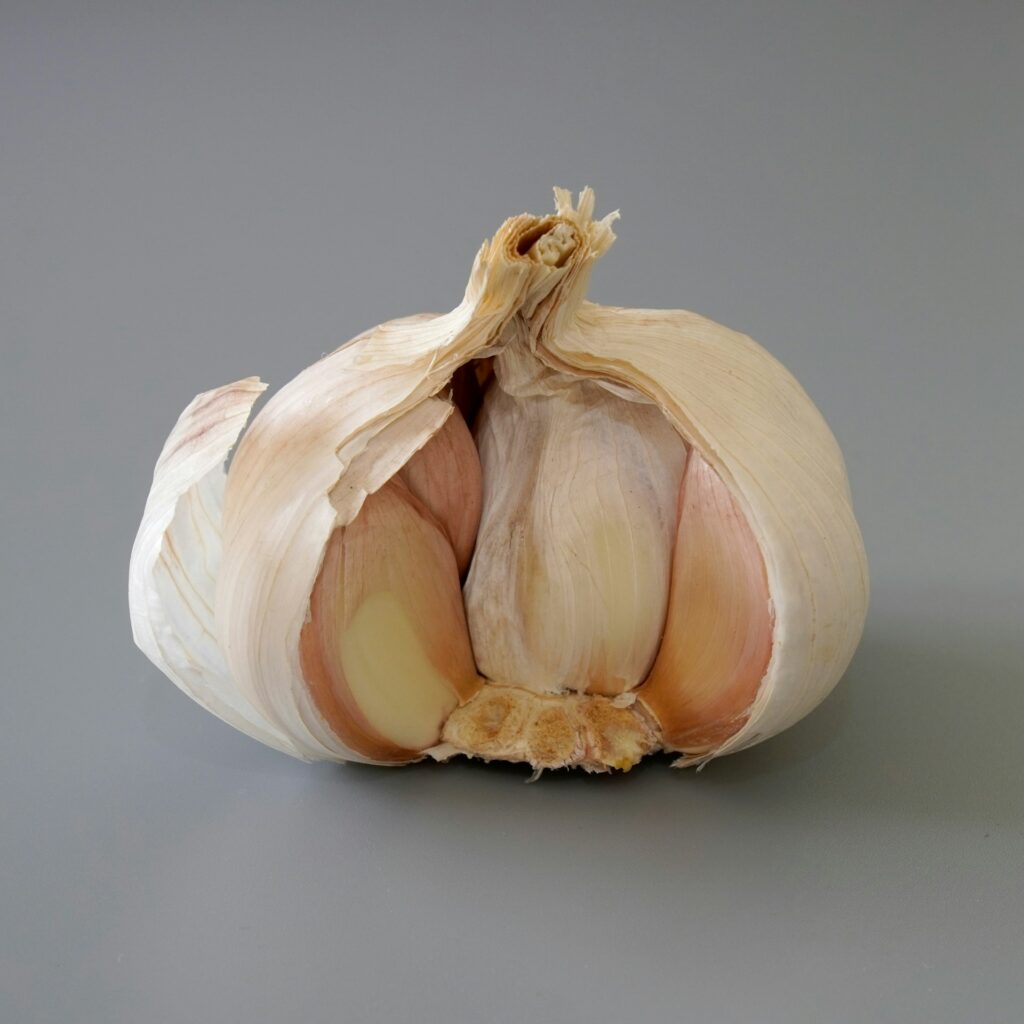
Got a clove that’s already sprouting in your pantry? Don’t toss it. Plant individual cloves (sprout side up) in soil about an inch deep, and they’ll produce tender garlic greens that taste like mild garlic. These greens are fantastic in stir-fries, eggs, or as a garnish.
Quick tip: You won’t get a full garlic bulb quickly, but the greens are ready to harvest in just a few weeks.
6. Ginger Root

If your ginger has small growth buds (they look like little horns), it’s ready to regrow. Plant a chunk with buds in a pot of soil, buds facing up, and keep it in indirect light. Ginger grows slowly but steadily, producing fresh rhizomes underground after several months.
Quick tip: Keep the soil moist but not soggy—ginger hates sitting in water.
7. Potatoes
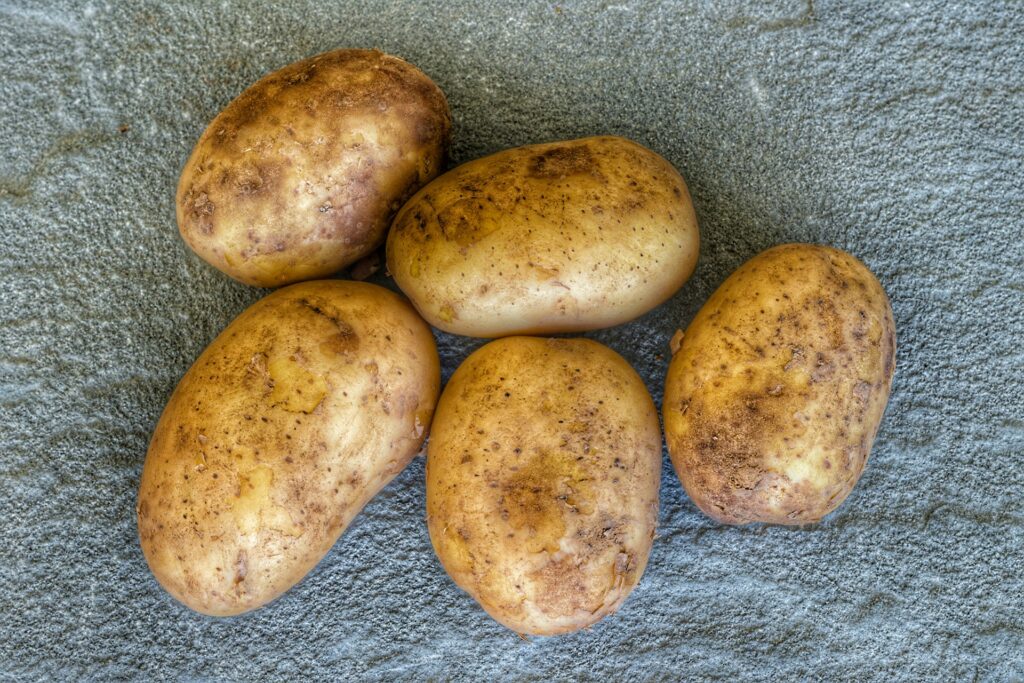
Any potato with eyes (those little sprouts) can become a new plant. Cut the potato into chunks with at least two eyes each, let them dry overnight, then plant them in soil. Each chunk can produce several new potatoes after a few months of growth.
Quick tip: Pile extra soil around the stems as they grow (called “hilling”) to encourage more potato formation.
8. Basil Stems
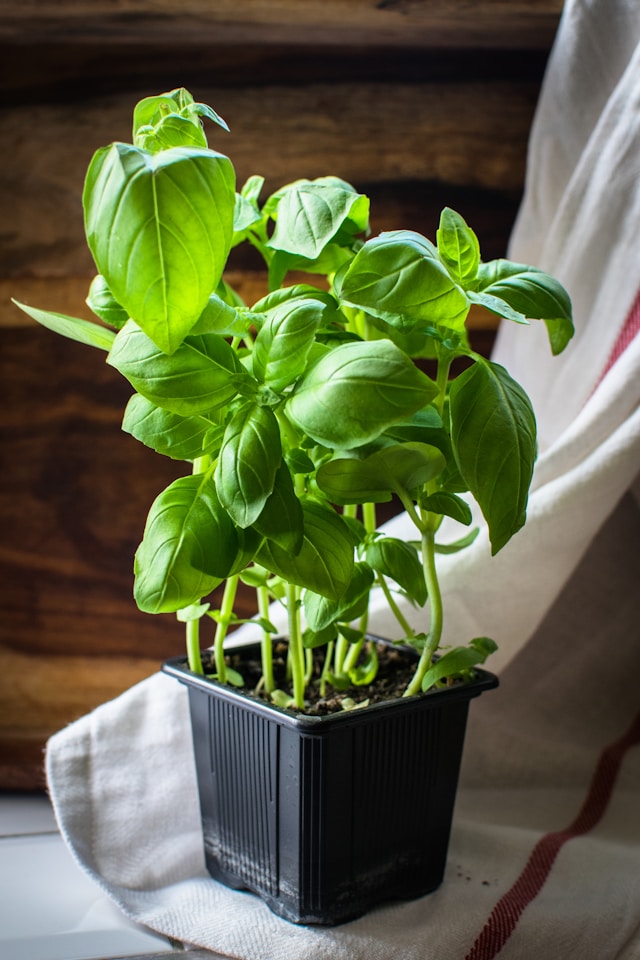
Take a 4-inch cutting from a healthy basil stem, remove the lower leaves, and place it in water near a sunny window. Roots will develop in about a week. Once the roots are a few inches long, you can plant it in soil or just keep harvesting leaves while it stays in water.
Quick tip: Change the water regularly and pinch off any flower buds to keep the plant focused on leaf production.
What to Avoid
Not every scrap is worth saving. Vegetables that are moldy, slimy, or dried out won’t regenerate—they’ll just rot faster when you try to regrow them. Always start with fresh, firm scraps for the best results.
Skip trying to regrow vegetables from heavily treated or waxed produce, as these coatings can interfere with growth. Also, just keep in mind that some vegetables will regrow their greens easily, but won’t produce new roots worth eating.
Your Scraps, Your Garden
Growing vegetables from kitchen scraps isn’t about perfection—it’s about trying something new, wasting less, and enjoying the small thrill of free food sprouting on your counter. Some scraps will surprise you with how quickly they grow, while others might need more patience than you expected. Either way, you’re turning trash into something useful, and that’s always worth celebrating. Now it’s your turn to save those scraps and see what grows!