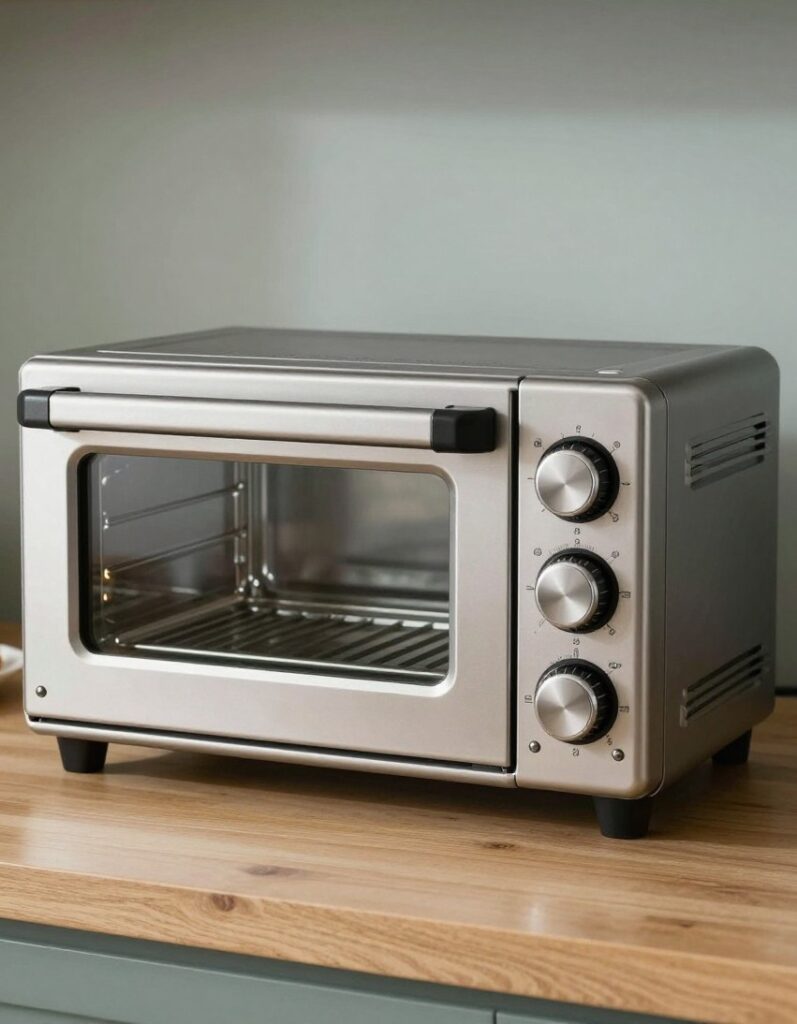
A toaster oven tends to collect crumbs, splatters, and baked-on residue over time. Regular attention helps keep it functional and ready for daily use. This guide walks through straightforward steps for toaster oven cleaning using items you likely have at home.
The process doesn’t require special products or extended scrubbing sessions. Most tasks take just a few minutes when done consistently.
Why Regular Maintenance Keeps Your Appliance Working Well
Crumbs and grease buildup can affect how your appliance performs. When debris accumulates on heating elements or the bottom tray, it sometimes produces smoke during use.
A clean unit also tends to heat more evenly. Food residue on the glass door or interior walls can block heat distribution slightly, though the difference might be subtle.
Regular care can extend the lifespan of your appliance. Simple wipe-downs between deeper cleans help prevent harder buildup later.
Unplugging and Preparing Your Appliance for Safe Cleaning
Before starting any toaster oven cleaning task, unplug the unit completely. This step removes electrical risk and lets you work safely around all interior surfaces.
Allow the appliance to cool for at least 15 minutes if it was recently used. Warm surfaces can cause discomfort or minor burns during cleaning.
Place the toaster oven on a stable counter with good lighting. You’ll have easier access to all areas, including the back corners and toaster oven tray slots.
Removing and Washing the Crumb Tray and Racks
Most toaster ovens include a crumb tray that slides out from the bottom. Pull it out gently and tap it over a trash bin to remove loose debris.
Wash the tray with warm, soapy water using a soft sponge. Baked-on spots can be soaked for a few minutes before scrubbing lightly.
Remove any racks or additional trays if possible. These pieces can be cleaned the same way—warm water and dish soap tend to handle most residue without harsh effort.
Dry all parts thoroughly before placing them back. Moisture left on metal surfaces might encourage rust over time, though this depends on your specific model.
Tackling Interior Buildup with a Simple Baking Soda Paste
Create a simple paste using three parts baking soda and one part water. This mixture can help lift grease and stuck-on food without scratching surfaces.
Apply the paste to the interior walls and bottom using a soft cloth or sponge. Focus on areas with visible buildup, but avoid spreading paste directly onto heating elements.
Let the paste sit for 10 to 15 minutes. This brief waiting period allows the baking soda to work on loosening residue.
Wipe away the paste with a damp cloth, rinsing and wringing frequently. Multiple passes might be needed for stubborn spots, but gentle pressure usually does the job.
Restoring Clarity to Your Glass Door with Gentle Solutions
The glass door tends to collect grease splatters and smudges. A mixture of equal parts water and white vinegar can cut through this buildup effectively.
Spray or apply the solution to the glass surface. Let it sit for a minute, then wipe with a soft cloth or paper towel.
For tougher spots, the baking soda paste from earlier works here too. Apply a thin layer, wait briefly, then wipe clean with a damp cloth.
Dry the glass with a clean towel to prevent streaks. Clear glass helps you monitor cooking progress without opening the door.
Carefully Wiping Down Heating Elements Without Damage
Heating elements require a gentle approach. Many models have elements that cannot be removed, so cleaning happens in place.
Use a barely damp cloth to wipe visible debris from the elements. Avoid soaking them or applying too much moisture, as this can interfere with their function.
A dry, soft brush can help remove loose crumbs from around the element supports. Work carefully to avoid bending or damaging any components.
Allow the elements to air dry completely before plugging the unit back in. Any remaining moisture should evaporate within a few minutes in a room-temperature environment.
Finishing with the Exterior and Control Panel Details
The outside of your toaster oven can collect fingerprints, grease, and dust. A damp cloth with a drop of dish soap handles most surface cleaning.
Wipe down the top, sides, and control panel area. Be cautious around digital displays or buttons—excess water can seep into small gaps.
For stainless steel exteriors, wipe in the direction of the grain. This approach tends to reduce streaking and maintain the finish.
Dry the exterior with a clean towel. A polished look isn’t essential, but removing moisture prevents water spots from forming.
What to Avoid When Cleaning Your Toaster Oven
Harsh abrasive cleaners can scratch interior coatings and glass surfaces. Steel wool or rough scrubbing pads might leave permanent marks on non-stick finishes.
Avoid submerging the entire unit in water. Electrical components inside the housing can be damaged by excessive moisture.
Don’t spray cleaning solutions directly onto control panels or vents. Liquid can seep into internal wiring and cause malfunctions.
Skip oven cleaners designed for full-size ovens unless your toaster oven manual specifically approves them. These products can be too strong for smaller appliances.
Never clean a toaster oven while it’s still plugged in. This creates unnecessary risk, even if the unit feels cool to the touch.
Questions & Answers About Toaster Oven Cleaning
How do you clean a toaster oven without harsh chemicals?
Baking soda and white vinegar handle most cleaning tasks effectively. These household items can cut through grease and lift baked-on food without strong fumes. A paste made from baking soda works on interior surfaces, while diluted vinegar helps with glass and light residue.
What is a fast way to clean a toaster oven?
a quick method involves removing and washing the crumb tray, wiping the interior with a damp cloth, and cleaning the glass door. This basic routine takes about 5 to 10 minutes. Regular light cleaning prevents heavy buildup that requires longer scrubbing sessions.
How often should you clean your toaster oven?
Wiping down the crumb tray and interior after every few uses helps maintain cleanliness. A deeper clean with baking soda paste can be done monthly, depending on how often you use the appliance. Frequent use might call for more regular attention to prevent smoke or odors.
Can you use vinegar to clean a toaster oven?
Yes, vinegar diluted with water can clean glass doors and remove light grease. It tends to work well for routine maintenance but might not handle heavy, baked-on residue. Combining vinegar with baking soda paste offers a more complete kitchen appliance care approach for tougher spots.
Wrapping Up Your Toaster Oven Cleaning Routine
Learning how to clean a toaster oven doesn’t require specialized tools or complicated steps. Simple household items like baking soda and vinegar can handle most cleaning tasks with minimal effort. Regular attention keeps your appliance ready for daily use and helps avoid heavier buildup over time.
Set aside a few minutes each week for quick wipe-downs. Your toaster oven will stay fresh, functional, and ready for your next meal.