How to Install Garden Edging with Bricks
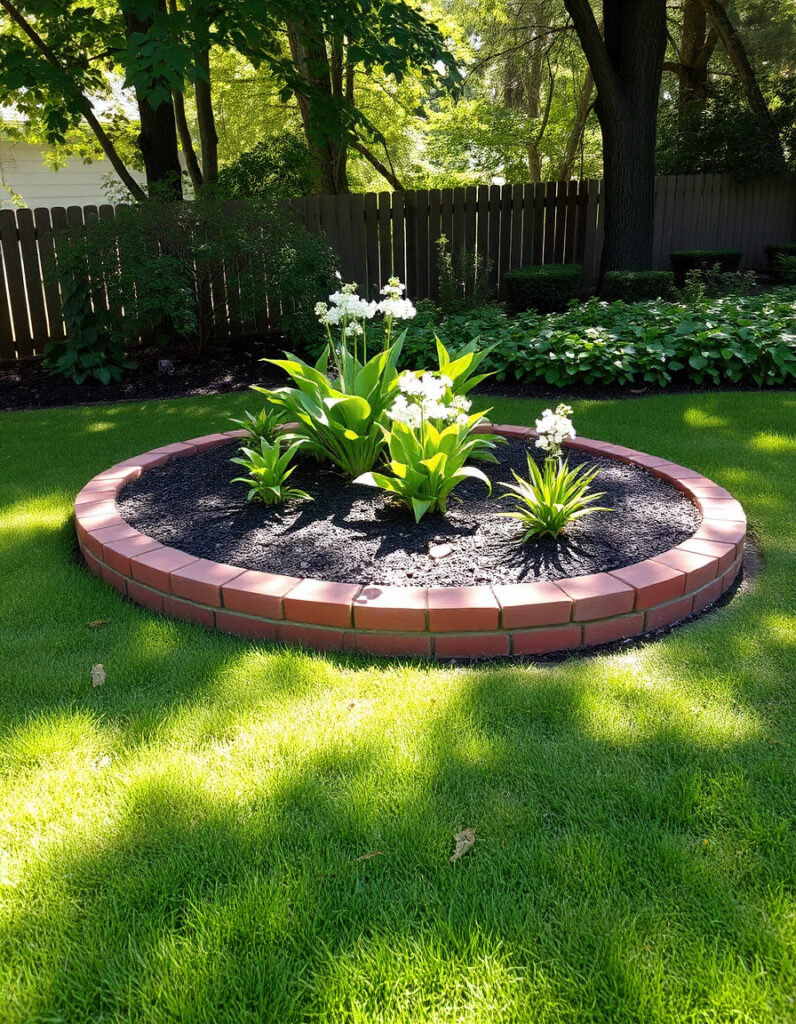
Garden edging with bricks transforms ordinary flower beds into well-defined, professional-looking landscapes. This durable and attractive edging solution not only prevents grass from invading your garden beds but also creates clean lines that enhance your outdoor space’s overall appearance.
Why Choose Brick Edging for Your Garden?
Brick edging offers several advantages over other materials. Bricks are incredibly durable, lasting decades without replacement when properly installed. They provide excellent drainage, resist weather damage, and complement most architectural styles. Unlike plastic or metal alternatives, brick edging actually improves with age, developing a natural patina that enhances its appearance.
The versatility of garden edging with bricks makes it suitable for curved or straight borders. You can create formal geometric patterns or flowing organic shapes depending on your landscape design preferences.
Essential Tools and Materials

Before starting your brick edging project, gather these necessary items:
Tools Required:
- Spade or edging tool
- Rubber mallet
- Level (2-4 feet long)
- String line and stakes
- Wheelbarrow
- Garden hose
- Measuring tape
Materials Needed:
- Bricks (calculate 4-5 bricks per linear foot)
- Sand (1-2 cubic feet per 50 linear feet)
- Landscape fabric (optional)
- Gravel or crushed stone for drainage
Step-by-Step Installation Process
Planning Your Layout
Start by marking your desired edging line using spray paint or flour. For curved edges, use a garden hose to establish smooth, flowing lines. Measure the total length to determine how many bricks you’ll need.
Excavating the Trench
Dig a trench approximately 6 inches wide and 4-6 inches deep along your marked line. The depth should accommodate half the brick height plus 2 inches for the sand base. Keep the excavated soil nearby—you’ll use it later for backfilling.
Make sure the trench bottom is relatively level, though it can follow the natural contours of your landscape. Remove any rocks, roots, or debris that could interfere with brick placement.
Creating a Stable Base
Add a 2-inch layer of coarse sand to the trench bottom. This sand base provides drainage and allows for easy brick leveling. Compact the sand lightly with your hands or a small tamper, then level it using a straight board.
For areas with heavy clay soil or poor drainage, consider adding a 1-inch layer of gravel beneath the sand.
Installing the Bricks
Begin placing bricks end-to-end in your prepared trench. Each brick should sit firmly on the sand base with approximately half its height above ground level. Use a rubber mallet to tap bricks into position, checking frequently with your level.
For straight edges, stretch a string line between stakes to maintain alignment. For curves, work gradually and adjust each brick’s position to create smooth transitions.
Maintain consistent spacing between bricks—typically 1/8 to 1/4 inch gaps are acceptable. These small spaces allow for thermal expansion and prevent cracking during freeze-thaw cycles.
Final Adjustments and Backfilling
Once all bricks are positioned, make final adjustments to ensure proper alignment and level. Backfill both sides of the edging with the excavated soil, tamping gently to secure the bricks in place.
Water the area lightly to settle the soil, then add more soil if needed to eliminate air pockets.
Professional Installation Tips
Choose uniform bricks for the best appearance. Slight color variations add natural beauty, but avoid mixing drastically different brick types in the same project.
When installing garden edging with bricks on slopes, step the bricks to follow the grade rather than creating a slanted line. This technique prevents soil erosion and maintains structural integrity.
Consider the mature size of nearby plants when positioning your edging. Leave adequate space for plant growth to prevent future conflicts with your brick border.
Maintenance and Longevity
Properly installed brick edging requires minimal maintenance. Annual inspection and minor adjustments keep your edging looking professional. Remove weeds that grow between bricks by hand or with a narrow weeding tool.
Over time, some bricks may shift due to frost heave or soil settling. Simply lift the affected bricks, add or remove sand as needed, and reinstall them in their proper position.
Cost Considerations
Garden edging with bricks typically costs $3-8 per linear foot for materials, depending on brick quality and local pricing. Professional installation adds $5-15 per linear foot to the total cost.
DIY installation saves significant money while providing the satisfaction of completing the project yourself. Most homeowners can install 50-100 linear feet of brick edging in a weekend.
Installation Mistakes to Avoid
Inadequate excavation leads to unstable edging that shifts over time. Always dig deep enough to accommodate the sand base plus half the brick height.
Skipping the sand base causes uneven brick placement and makes future adjustments difficult. The small investment in sand pays dividends in installation ease and long-term stability.
Installing bricks too high above ground level creates a tripping hazard and makes mowing difficult. Keep the exposed brick height to 2-3 inches maximum.
Questions & Answers
How deep should I dig for brick garden edging?
Dig your trench 4-6 inches deep to accommodate a 2-inch sand base plus half the brick height. For standard bricks (2.25 inches tall), a 4-inch deep trench works well, leaving about 1 inch of brick exposed above ground.
Can I install brick edging without sand?
While possible, sand is highly recommended for proper drainage and easy leveling. Without sand, bricks may settle unevenly, creating gaps and an unprofessional appearance. The small cost of sand prevents major problems later.
How many bricks do I need per foot of edging?
Plan for 4-5 bricks per linear foot depending on brick size. Standard bricks (7.5-8 inches long) require about 4 bricks per foot, while longer bricks need fewer. Buy 10% extra to account for breakage and future repairs.
Should I use mortar between the bricks?
Mortar is not necessary for garden edging and can actually cause problems. Mortared joints crack during freeze-thaw cycles, creating maintenance issues. Dry-laid bricks allow for natural movement and easier repairs.
How do I handle corners and curves?
For 90-degree corners, miter the brick ends at 45-degree angles for a professional appearance. For curves, use shorter bricks or cut standard bricks to follow the desired line. Gentle curves work better than sharp turns.
What type of bricks work best for edging?
Standard clay bricks work excellently for edging applications. Choose bricks rated for outdoor use that can withstand freeze-thaw cycles. Avoid soft or decorative bricks that may deteriorate quickly in ground contact.
How long does brick edging typically last?
Properly installed brick edging can last 20-50 years with minimal maintenance. The longevity depends on brick quality, installation technique, and local climate conditions. This makes brick edging an excellent long-term investment for your landscape.