Can You Use a Wet Mop on Hardwood Floors?
Hardwood floors tend to look beautiful until you’re standing there with a wet mop, wondering if you’re about to ruin everything. The answer isn’t exactly black and white, and getting it wrong can lead to warping, dullness, or long-term damage. Let’s break down what actually works and what to watch out for.
Why Water and Hardwood Don’t Always Mix
Hardwood is naturally porous, which means it absorbs moisture when given the chance. Too much water sitting on the surface can seep into the wood, causing it to swell, warp, or develop dark spots over time. The finish on your floors matters more than the wood itself — sealed floors handle moisture better than unfinished or worn surfaces. If your finish is compromised, even a damp mop can create problems.
1. Know Your Floor’s Finish First
Not all hardwood floors respond the same way to moisture. Polyurethane-sealed floors typically handle light dampness without issue, while oil-finished or waxed floors need extra caution. Unfinished hardwood? Skip the wet mop entirely.
Run your hand across the floor — if it feels smooth and glossy, you’re probably dealing with a sealed surface. If it feels more natural or textured, it might not have a protective layer. When in doubt, test a small, hidden area first with a barely damp cloth and check for any discoloration or swelling after a few hours.
2. “Wet” Doesn’t Mean Soaking
Here’s where things get tricky: a wet mop shouldn’t actually be dripping wet. The goal is to use as little water as possible while still cleaning effectively. A damp mop — one that’s been wrung out thoroughly — is what you’re aiming for.
If you can squeeze water out of the mop head easily, it’s too wet. The surface should dry within a minute or two after mopping. Excess water pooling on the floor is a red flag that can lead to damage over time.
3. Use the Right Cleaning Solution
Plain water won’t do much for sticky spills or buildup, but harsh cleaners can strip your floor’s finish. A pH-neutral hardwood floor cleaner is usually the safest bet — it cuts through grime without breaking down the protective coating.
Avoid anything with ammonia, vinegar, or oil-based soaps. These can dull the finish or leave behind a residue that attracts more dirt. Mix your cleaner according to the label, and don’t assume more product means cleaner floors — it often just means more buildup.
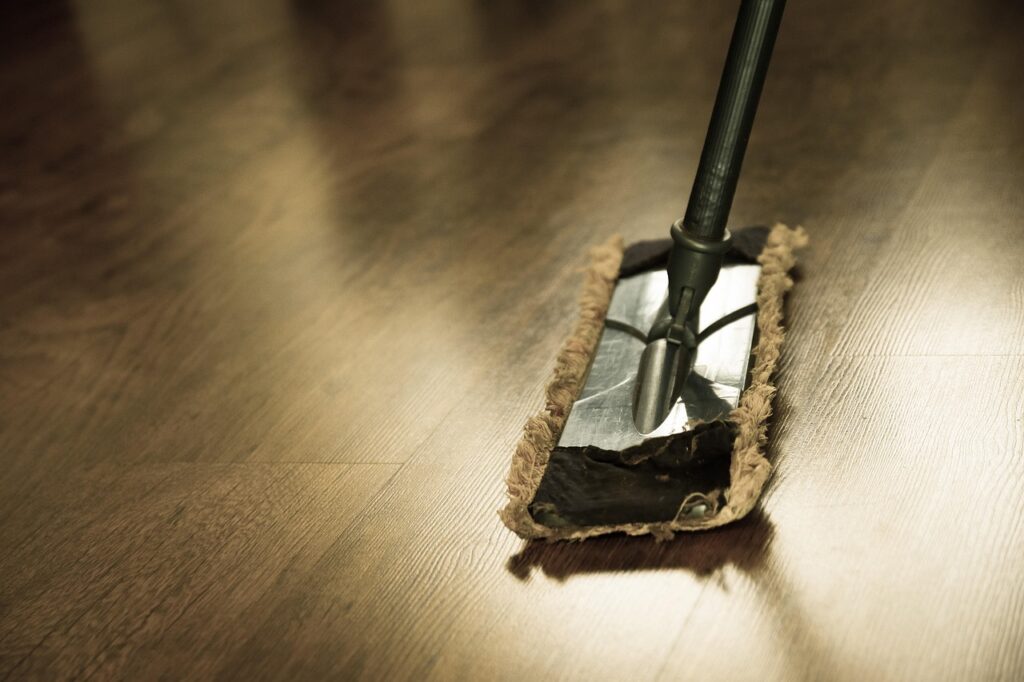
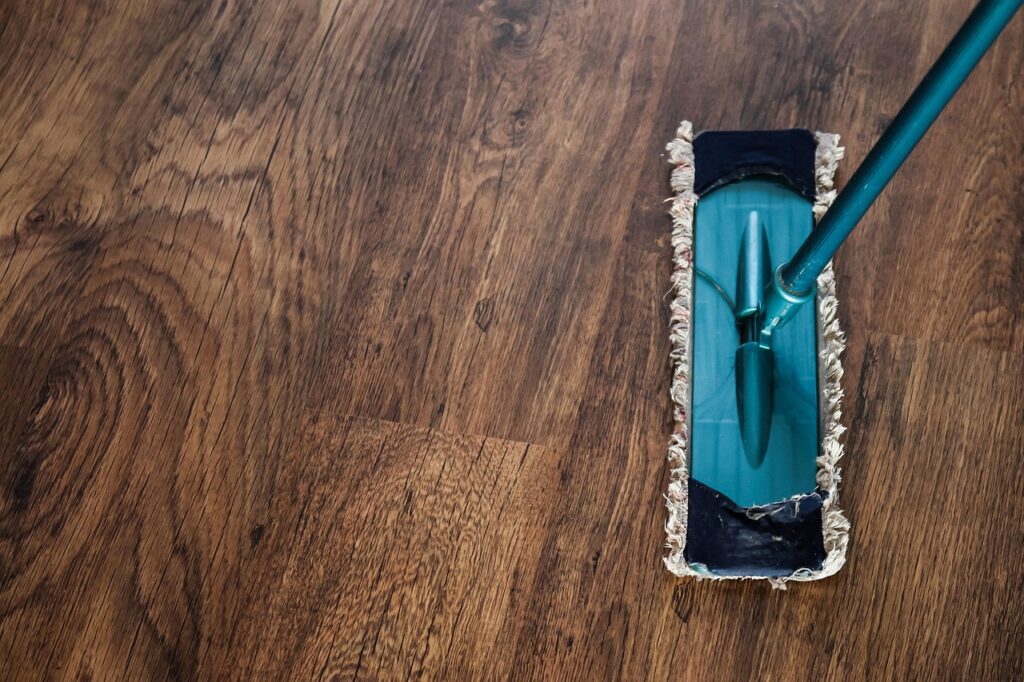
4. Pick the Right Mop Style
Traditional string mops hold way too much water for hardwood, even when wrung out. Microfiber flat mops or spray mops give you better control over moisture levels and tend to leave floors cleaner with less effort.
Spray mops let you apply cleaner directly to small sections without over-wetting the entire floor. Microfiber pads lift dirt effectively and can be wrung out thoroughly before use. Whichever style you choose, make sure you can control how damp it gets before it touches your floors.
5. Mop in the Direction of the Grain
This might sound overly specific, but it matters. Mopping along the grain helps avoid streaks and ensures you’re not pushing water into the seams between boards. Cross-grain mopping can force moisture into cracks where it lingers and causes problems.
Work in small sections and keep the mop moving. Don’t let it sit in one spot, and don’t go over the same area repeatedly. Quick, even passes are more effective than scrubbing the same spot over and over.
6. Dry the Floor Immediately After
Even with a damp mop, you’ll want to speed up the drying process. Open windows, turn on fans, or just give the floor a quick once-over with a dry microfiber cloth. Standing water — even just a little — shouldn’t sit on hardwood for long.
This step takes less than a minute and can prevent long-term damage like cupping or discoloration. If the floor still feels damp after 5–10 minutes, you used too much water and should adjust your technique next time.
7. Watch for Warning Signs
Your floors will usually tell you if something’s off. If you notice the wood starting to look dull, feeling rough, or developing dark spots, moisture is likely penetrating the finish. Cupping (edges of boards higher than the center) or crowning (center higher than edges) means water damage is already happening.
Catching these signs early gives you a chance to adjust your cleaning routine before the damage becomes permanent. If your finish is wearing thin, consider resealing before continuing with damp mopping.
What to Avoid When Mopping Hardwood
A few common mistakes can undo even the best mopping technique. Never use a steam mop on hardwood — the heat and moisture combo can break down the finish and warp the wood underneath. Don’t let spills or cleaning solution sit on the surface, even for a few minutes.
Skip the “mop and bucket” method if the bucket doesn’t have a wringer — it’s too easy to use too much water. And resist the urge to mop daily unless absolutely necessary. Frequent wet mopping can wear down the finish faster than regular foot traffic.
When to Skip the Mop Altogether
Some situations call for a different approach. For daily maintenance, a dry microfiber dust mop or vacuum with a hardwood setting works better and poses zero risk. For sticky spots or spills, a damp cloth targeted at the problem area is often safer than mopping the whole floor.
If your floors are older, showing wear, or haven’t been refinished in years, stick to dry cleaning methods until you can reseal them. A little extra caution now can save you from an expensive refinishing job later.
Wrap-Up
Using a wet mop on hardwood floors is possible, but it requires a light touch and the right approach. Keep the mop barely damp, use a pH-neutral cleaner, and dry the floor right away. Pay attention to how your floors respond, and adjust your routine if you notice any changes in texture or appearance. Keep these points in mind as you clean, and adjust based on how your floors respond over time.